
- Notebook: Django Project: Car Listing
- Speaker: Udemy Instructor Rathan Kumar
- Date Created: Aug. 2, 2024, 6:25 p.m.
- Owner: Rosilie
1. After the corrections made in my SETTINGS.PY

The ALLOWED_HOST is HEROKU'S provided domain name:

Make sure that WHITENOISE MIDDLEWARE is above other middleware because 3rd party applications may require this. See the documentation here.

This is the DATABASE_URL after you made the second app and deleted the first one.

This is the STATIC FILE CONFIGURATIONS where STATIC_ROOT uses STATICFILES folder instead of the STATIC value that Rathan uses. This is what the HEROKU documentation requires.

This is our STATIC STORAGE:

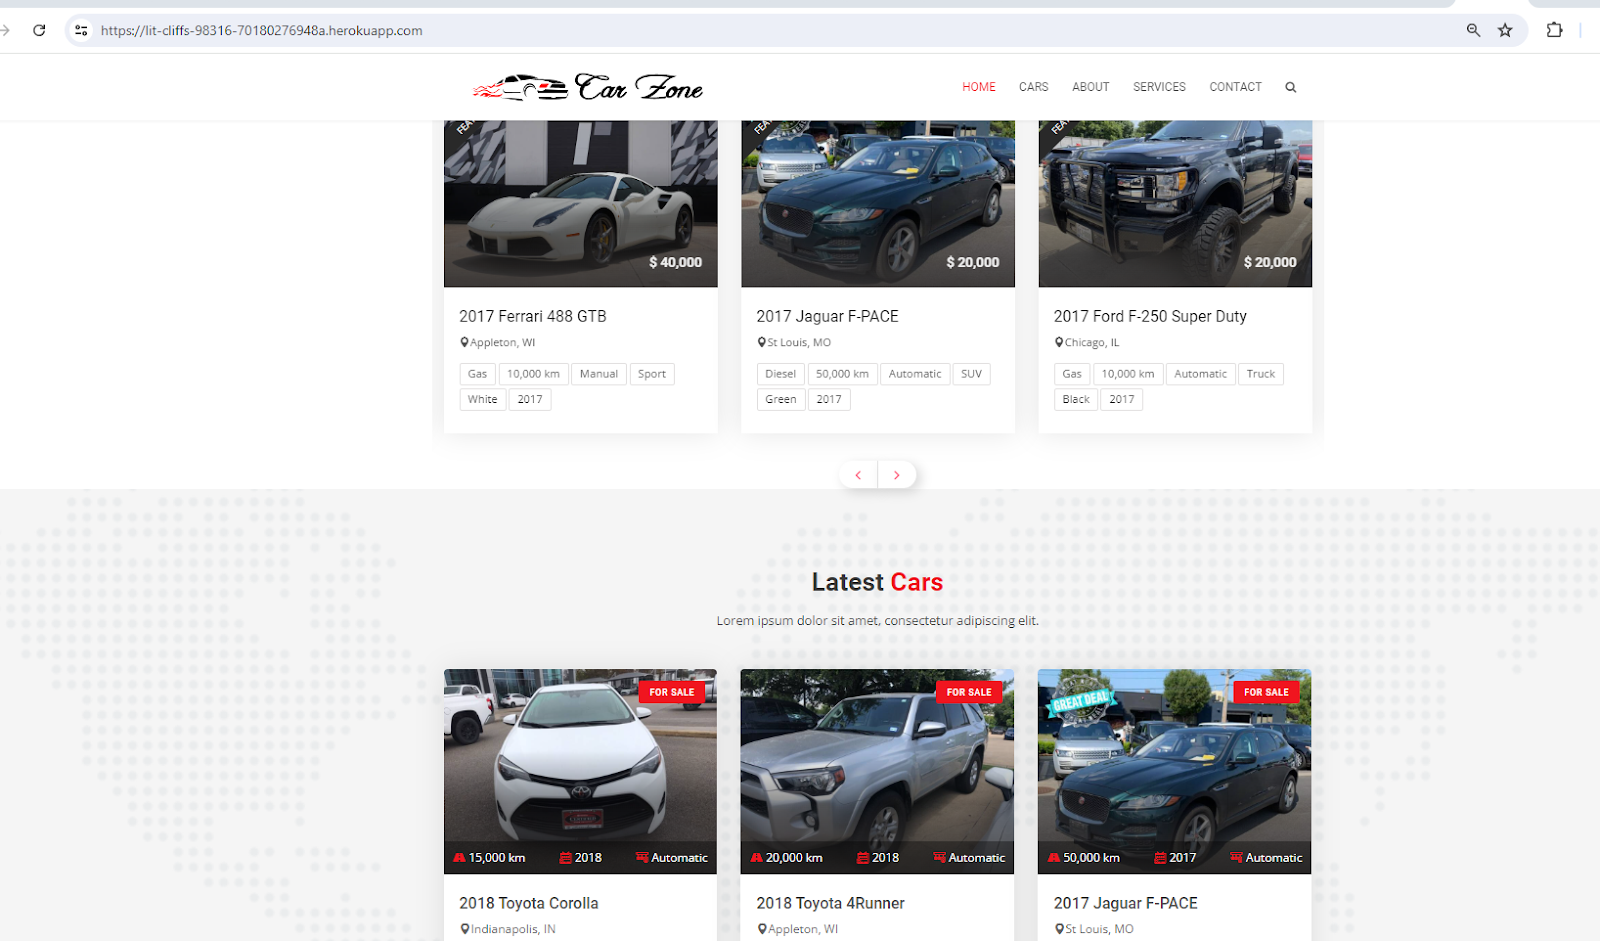
2. Run HEROKU OPEN and the app should open. The address is the random name that Heroku gave our app. You can replace this if you purchase a DOMAIN like from NAMECHEAP or GoDADDY!


3. When you open the app, the images for the TEAM, FEATURED CARS wont show up. So you now need to load the JSON file to upload all our sample records that we did locally through our computer/laptop.

4. We remove the /MEDIA file from .GITIGNORE.
5. We load our JSON file into HEROKU SERVER
python manage.py loaddata project_dump.json
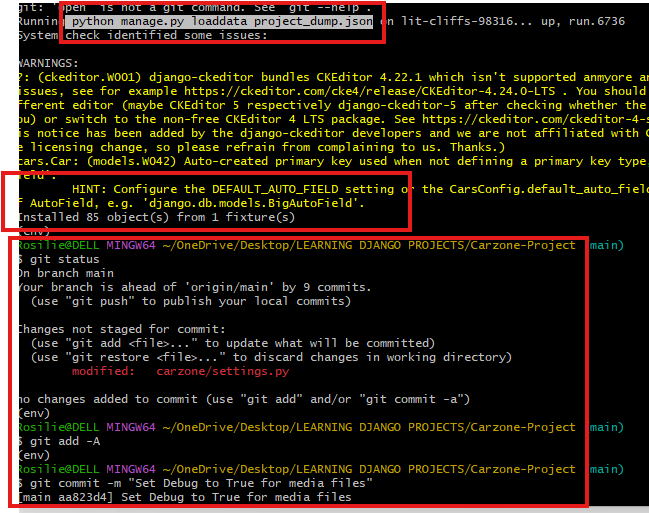
6. We changed our DEBUG to TRUE
7. We pushed our changes to Heroku Server and we now see our media files.
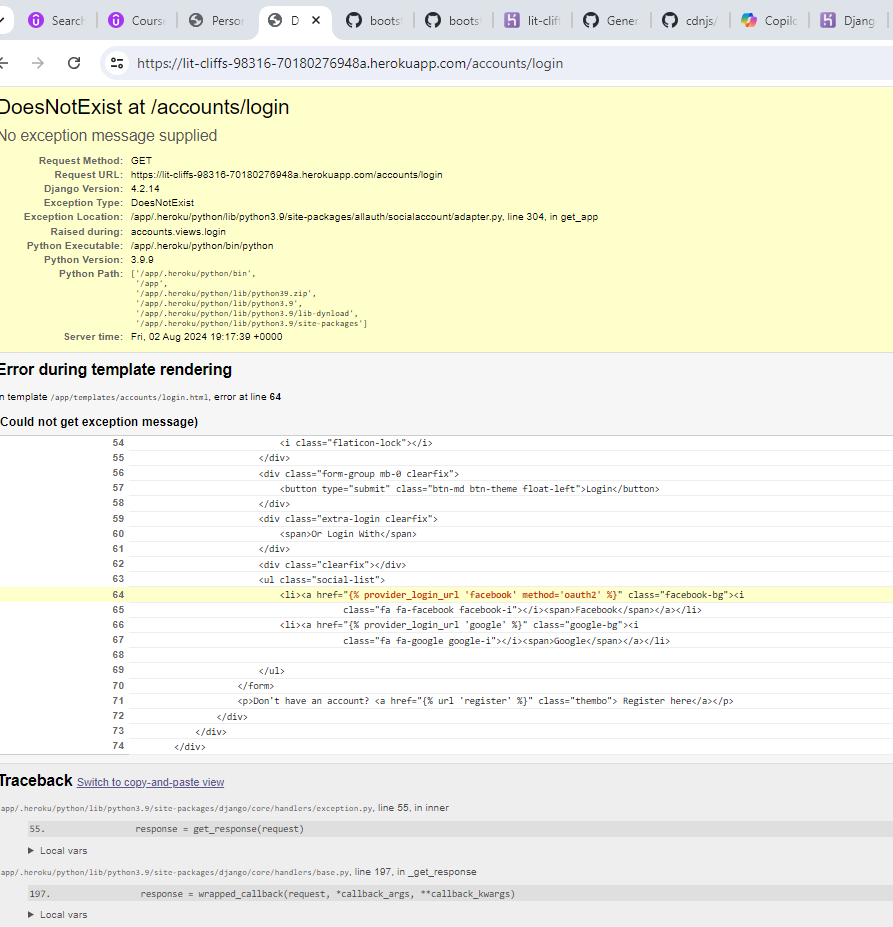
8. But we encounter errors when we login. We can fix this via the ADMIN PANEL if you can access it otherwise, we use the Python shell to activate our admin site.
We issue the codes using Python shell:
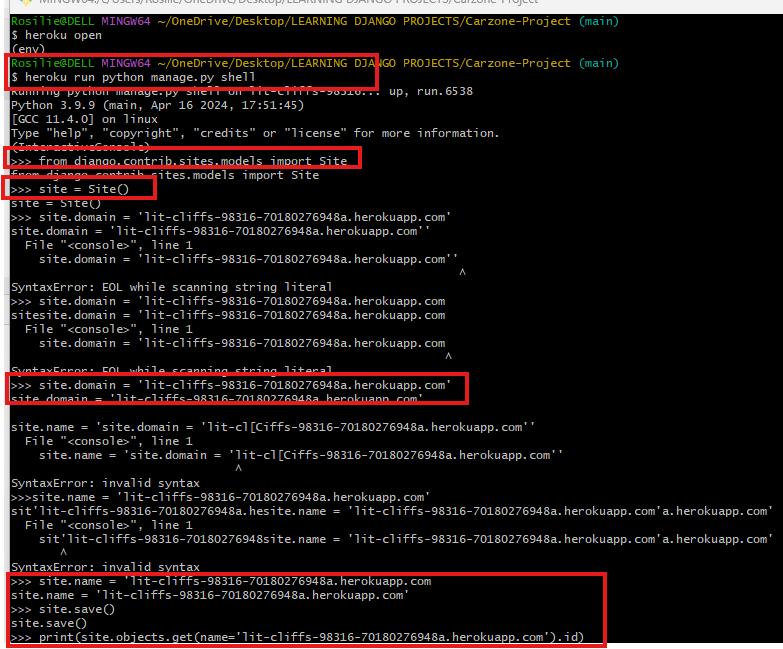
9. To get the SITE_ID of our heroku app:

So we changed SITE_ID in SETTINGS.PY:

10. Run your admin panel and you should be able to see your registered app domain name.

11. We get the error because of Facebook and Google configurations. So go back to the admin panel and make sure we add our newly registered domain.


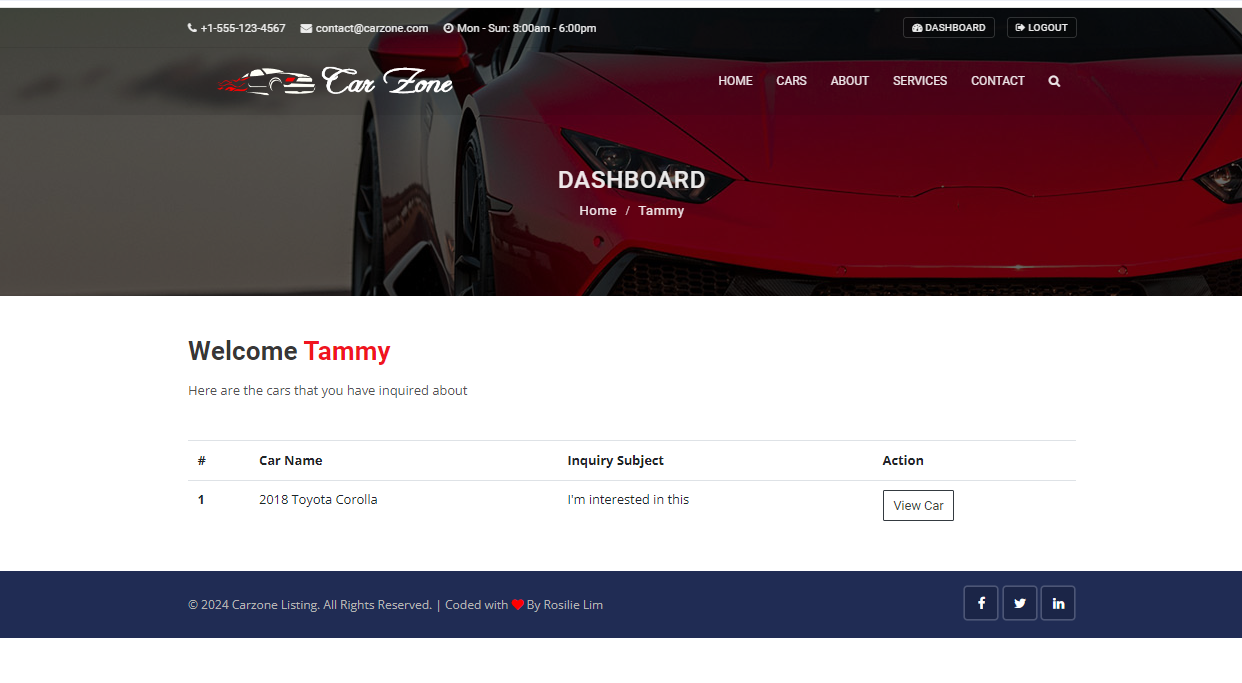
12. You can now log in and add like messages. The admin can view the details of this messages via the admin dashboard.
13. Next we need to fix the Social Media Login since we have a new domain name BUT YOU NEED YOUR SSL so get this from heroku dashboard but this requires configuration. For practice, just copy the website's complete addres that has SSL
Go to DEVELOPERS.FACEBOOK.COM and update your new domain name.
FROM:
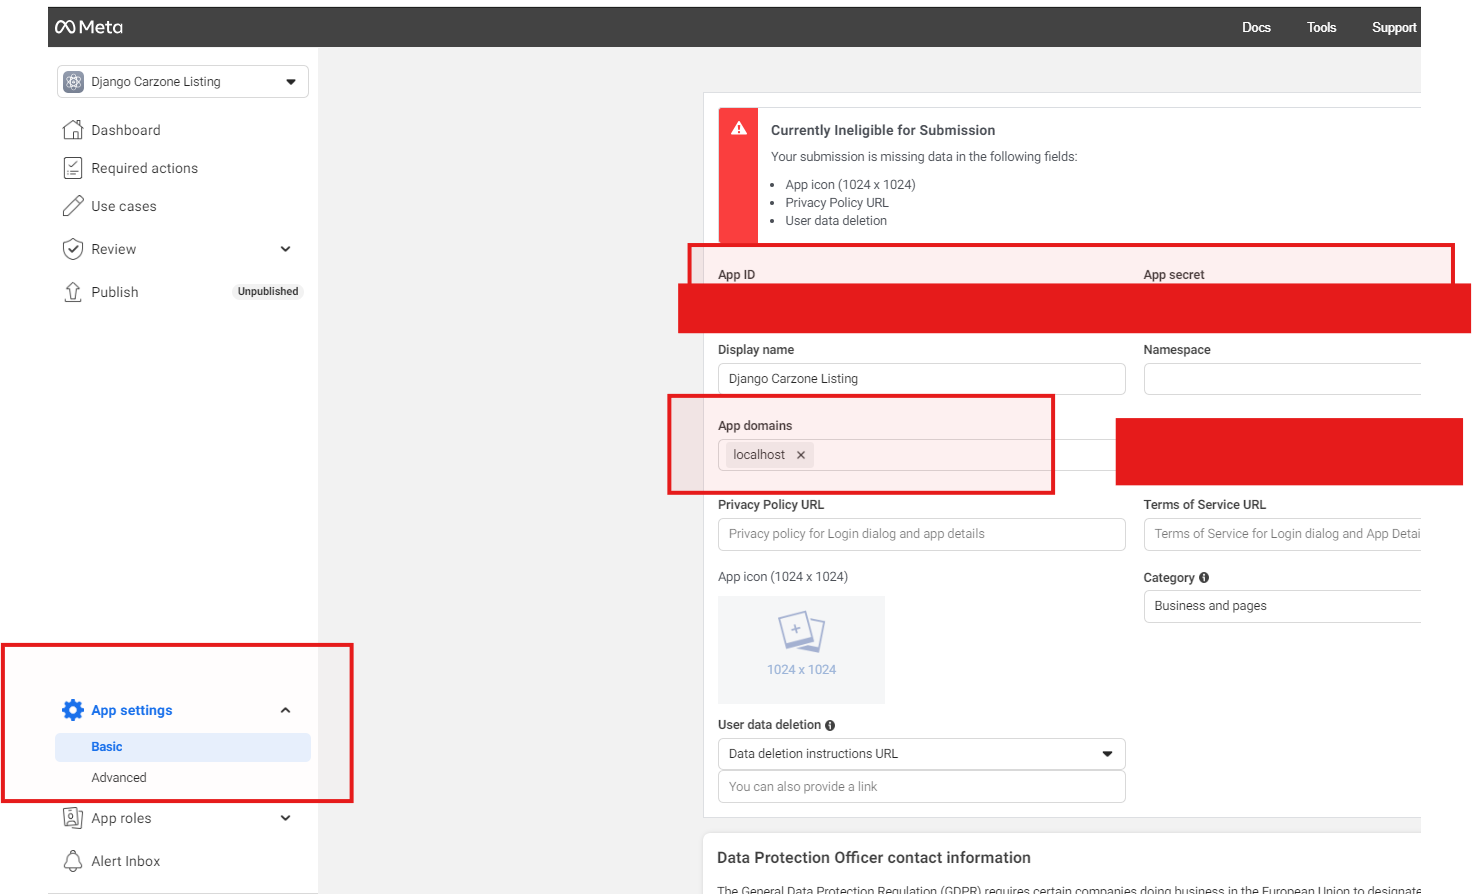
TO:
14. We add the Valid OAuth Redirect URIs t too, https://lit-cliffs-98316-70180276948a.herokuapp.com/socialaccounts/facebook/login/callback/ Take note of the URL you have when you login. This is the URL you set in your URLS.PY. So on FACEBOOK DEVELOPERS dashboard, we add Click on

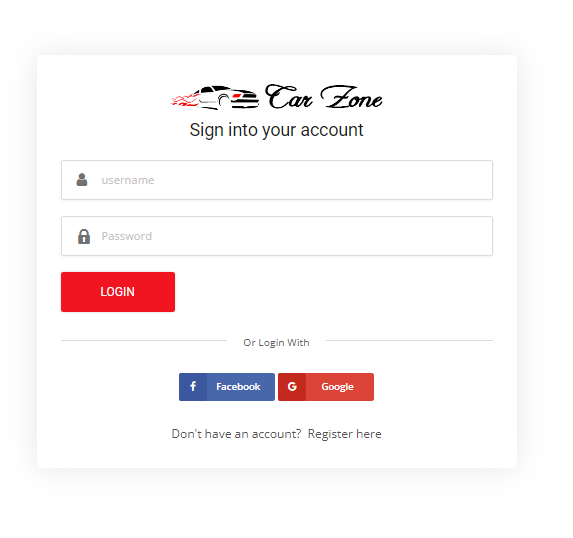
You should be able to proceed now with your Facebook login:

15. We do the same for GOOGLE LOGIN. Go to Google Developers' Console and update the URLs.
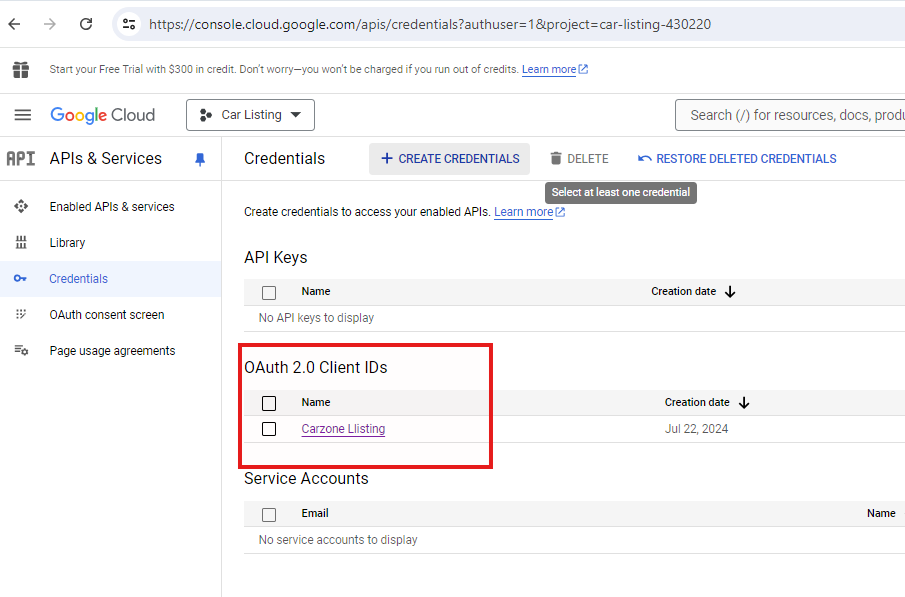
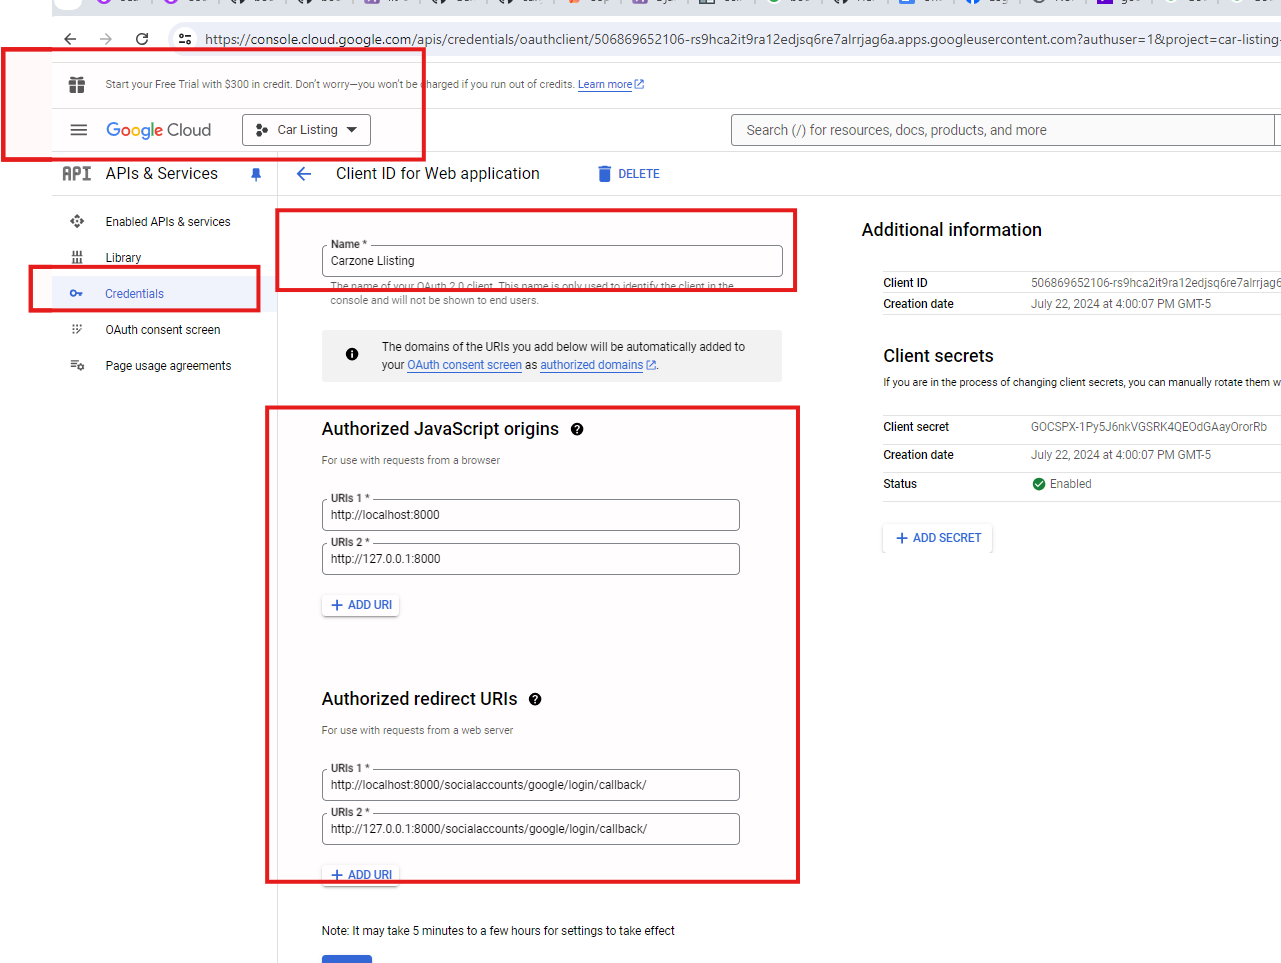
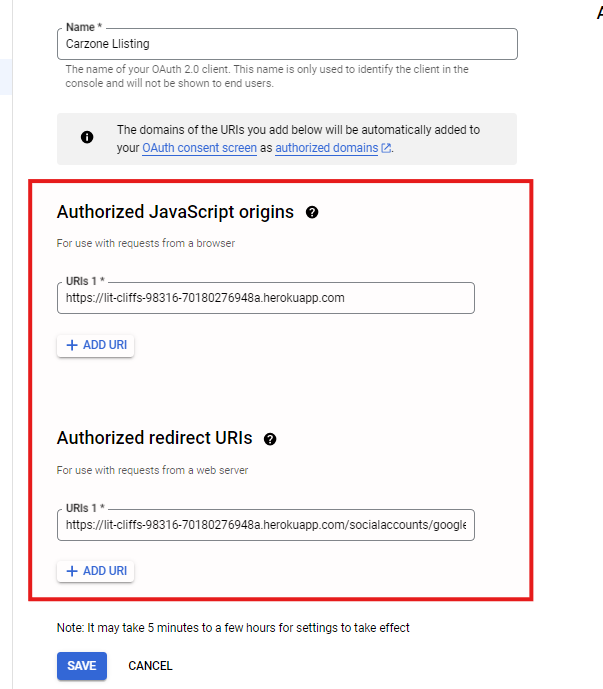
16. Now load and test your page.
No PDF file attached.